
Yield: 2 loaves
Prep Time: 20 minutes
Rest & Rise Time: 8–12 hours
Bake Time: 35–40 minutes
Total Time: About 12 hours
Difficulty: Easy to Intermediate
Easy Overnight Sourdough Bread
This overnight sourdough bread is a great way to make fresh homemade loaves without spending all day in the kitchen. The dough is mixed with a small amount of hands-on work, then left to ferment slowly overnight.
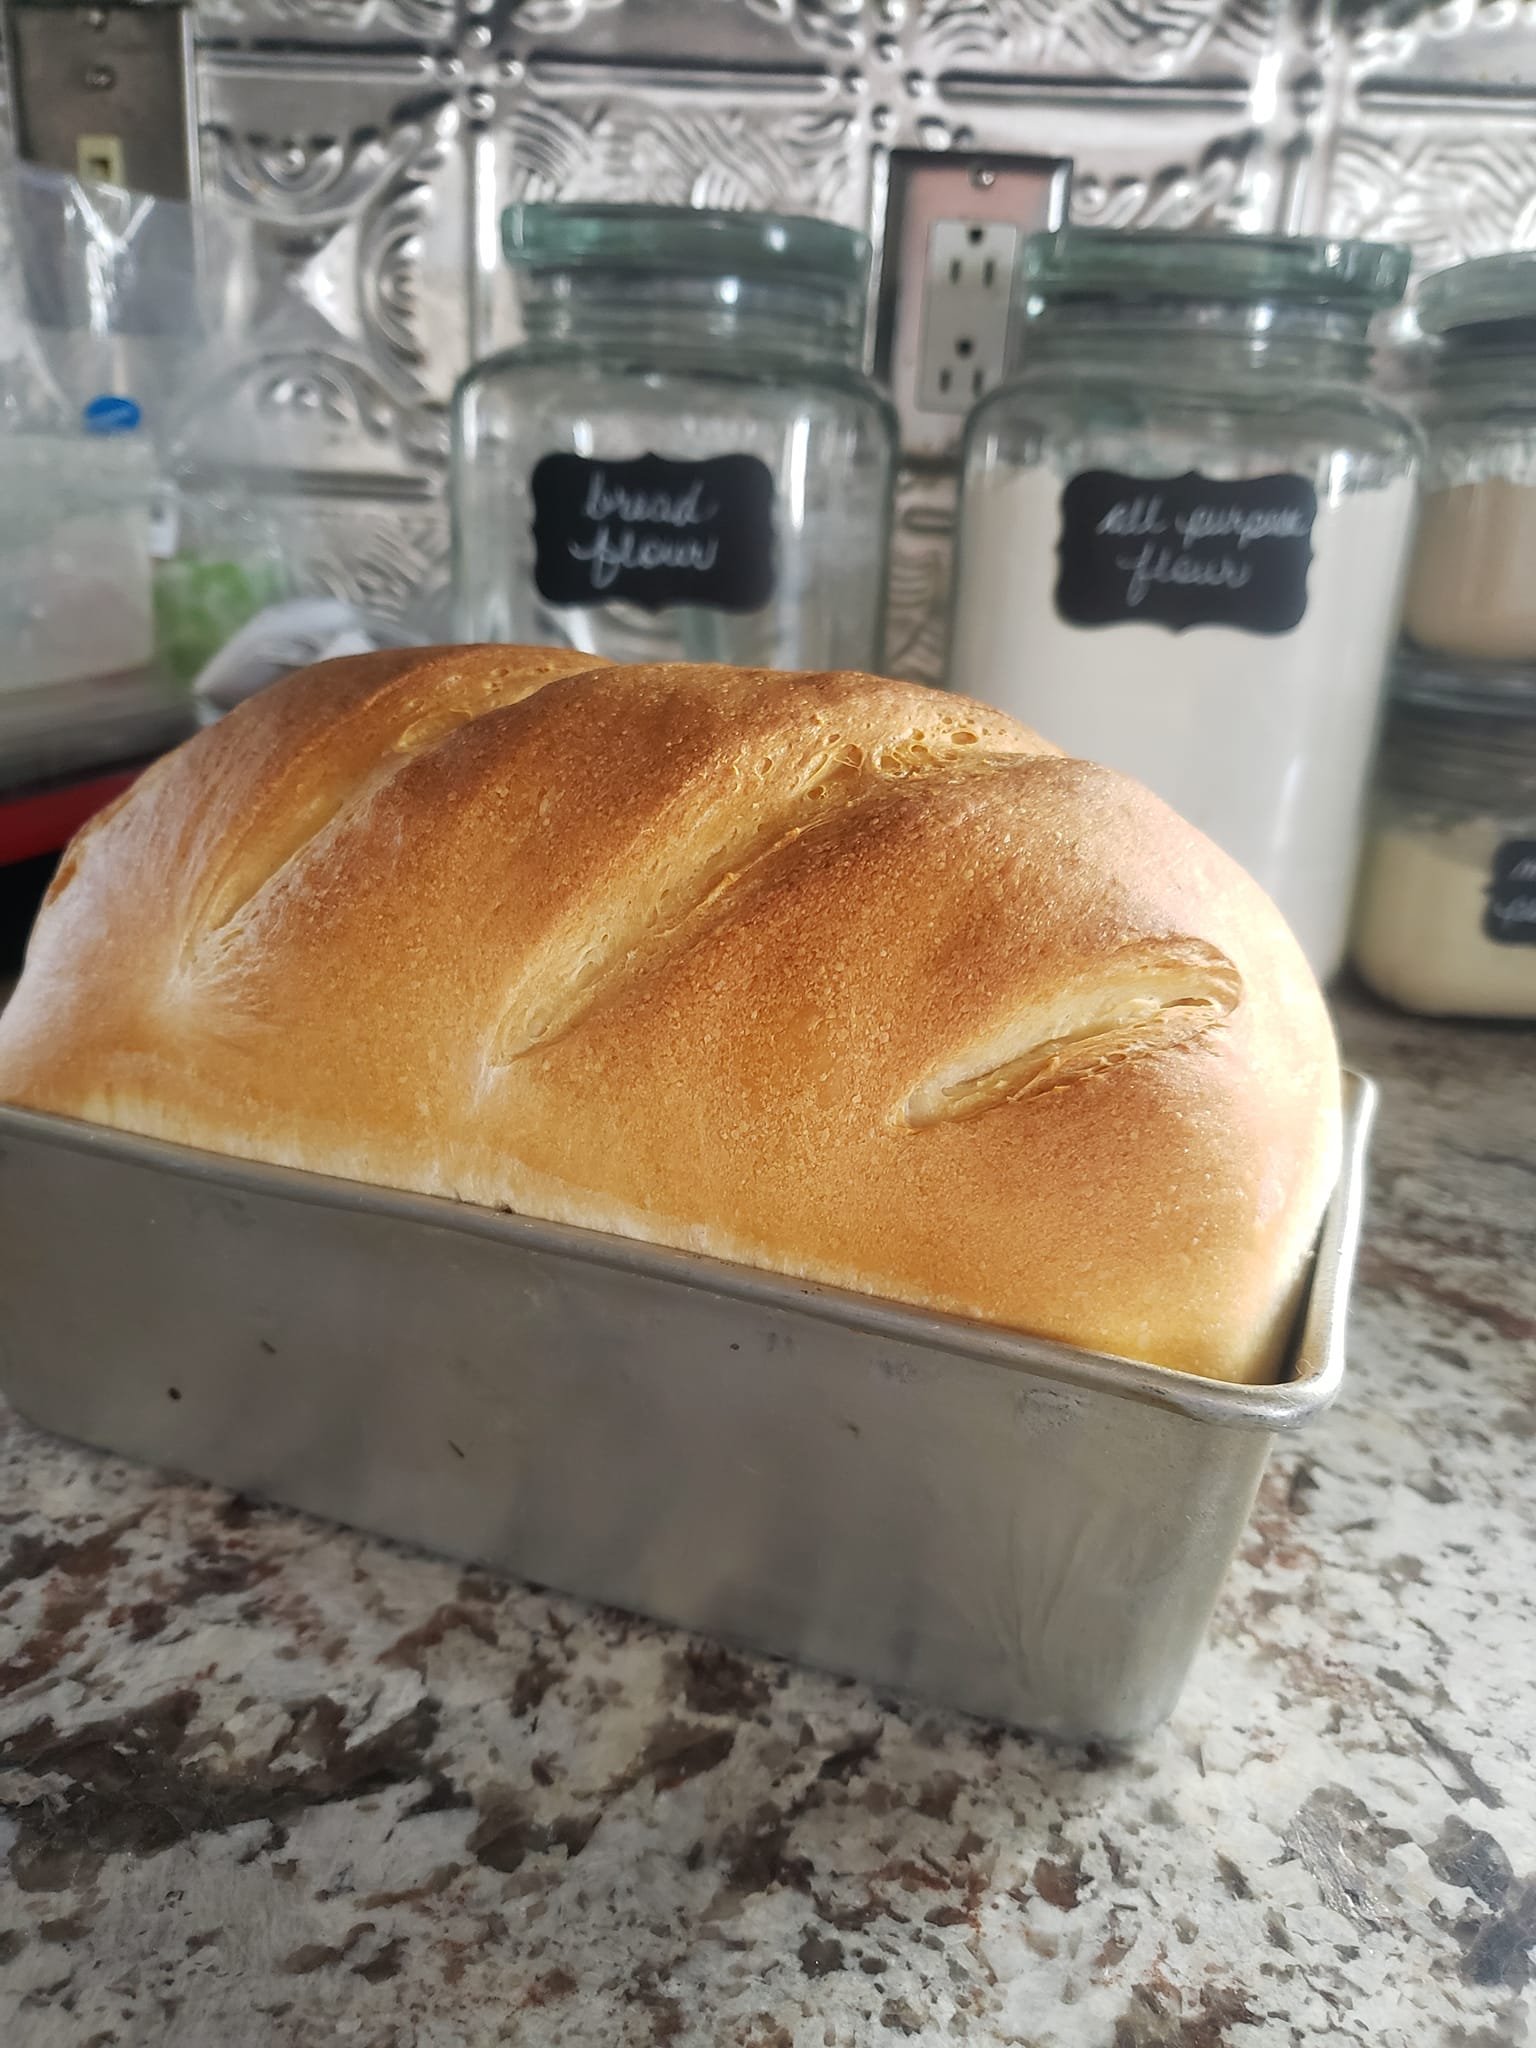
The finished bread has a golden crust and a soft, chewy center with a mild sourdough flavor. Whole wheat flour adds a deeper taste, while bread flour helps give the loaves good structure.
This recipe makes two loaves, so you can keep one for the week and freeze the other for later.
Ingredients
- 500g bread flour
- 100g whole wheat flour
- 100g active sourdough starter
- 375g room-temperature water
- 10g sea salt
Optional
- Extra flour for dusting
- Rice flour for shaping
- A little melted butter for a softer crust
Equipment
- Large mixing bowl
- Digital kitchen scale
- Dough scraper
- Two loaf pans
- Clean kitchen towel or plastic wrap
- Sharp razor or bread lame
- Wire cooling rack
How to Make Overnight Sourdough Bread
Step 1: Feed the Starter
Feed your sourdough starter about 4–6 hours before mixing the dough.
The starter should become active and bubbly. It should also rise noticeably after feeding and have a pleasant tangy smell.
If your starter is sluggish, give it another feeding before making the bread. A strong starter helps the dough rise well and gives the loaf a better texture.
Step 2: Mix the Dough
Add the 100g active sourdough starter and 375g water to a large bowl.
Stir until the starter is mostly dissolved into the water.
Add the 500g bread flour and 100g whole wheat flour.
Mix with your hand, wooden spoon, or dough whisk until all the flour is hydrated. Make sure there are no dry patches left in the bowl.
The dough will look rough and sticky at this point. That is normal.
Cover the bowl and let it rest for 1 hour.
This rest gives the flour time to absorb the water and allows the dough to start developing strength.
Step 3: Add the Salt
Sprinkle 10g sea salt over the dough.
Use wet hands to pinch, squeeze, and fold the dough until the salt is evenly mixed in.
You do not need to knead the dough like regular sandwich bread. Gentle folding will help build strength while keeping the process simple.
Step 4: Bulk Fermentation
Cover the bowl and let the dough ferment at room temperature for about 3–4 hours.
During this time, perform a stretch and fold every 30 minutes for the first few hours.
How to Stretch and Fold
- Wet your hands lightly.
- Grab one side of the dough.
- Gently stretch it upward.
- Fold it over the center.
- Turn the bowl.
- Repeat with the other sides.
Complete about 3–4 folds around the bowl.
After each round, the dough should feel a little stronger.
Once the folds are finished, cover the bowl and leave the dough alone until it has increased by roughly 50–75%.
The dough should look puffy and have some bubbles around the edges.
Step 5: Divide and Pre-Shape
Lightly flour your work surface.
Turn the dough out gently and divide it into two equal pieces.
Try not to press all the air out of the dough.
Shape each piece into a loose ball.
Let both pieces rest uncovered for about 20 minutes.
This bench rest allows the gluten to relax and makes the final shaping easier.
Step 6: Shape the Loaves
Lightly flour your work surface again if needed.
Take one piece of dough and gently flatten it into a rough rectangle.
Fold the bottom toward the center. Fold the sides inward, then roll the dough into a tight log.
Repeat with the second piece.
Try to create enough surface tension so the dough holds its shape without tearing.
Place each shaped loaf seam-side down into a lightly oiled or floured loaf pan.
Step 7: Overnight Cold Proof
Cover the loaf pans with plastic wrap or a reusable cover.
Place them in the refrigerator for 8–12 hours.
The slow cold rise gives the bread time to develop flavor and helps make the dough easier to handle the next day.
This is also what makes the recipe so convenient. You can prepare the dough at night and bake fresh bread the next morning.
Step 8: Preheat the Oven
The next morning, remove the dough from the refrigerator while the oven heats.
Preheat your oven to 450°F (230°C).
If you want extra steam, place a heat-safe pan in the oven while it preheats. Add hot water when the bread goes into the oven.
Steam helps keep the crust from setting too quickly and can improve the rise.
Step 9: Score the Loaves
Remove the covers from the loaf pans.
Use a sharp razor or bread lame to score the top of each loaf.
You can make:
- One long straight cut
- A simple wave
- A leaf pattern
- Several small diagonal cuts
Keep the cuts fairly shallow and clean.
A light dusting of flour on top can give the loaves a classic bakery look.
Step 10: Bake
Place the loaf pans in the hot oven.
Bake for 35–40 minutes, or until the loaves are deeply golden brown and sound hollow when gently tapped.
For a crispier crust, carefully remove the loaves from their pans during the last 10 minutes of baking and place them directly on the oven rack.
If the tops are browning too quickly, loosely cover them with foil.
Step 11: Cool Completely
Remove the bread from the oven and transfer it to a wire rack.
Let the loaves cool for at least 1 hour before slicing.
For the cleanest crumb, give them even more time to cool.
Slicing sourdough while it is still very hot can make the inside sticky or gummy because the crumb has not finished setting.
Pro Tips for Better Sourdough
Keep Your Starter Active
A recently fed starter that is bubbly and rising well will give you better results.
If the starter takes many hours to rise or barely changes in size, it may need a few regular feedings before baking.
Watch the Dough
Fermentation time can change based on room temperature.
A warm kitchen may speed things up, while a cool kitchen may slow the process.
Instead of following the clock alone, look for a dough that is puffy, airy, and noticeably larger.
Do Not Add Too Much Flour
Sourdough dough can feel sticky during mixing and shaping.
Try wetting your hands instead of adding a lot of flour. Too much extra flour can make the bread dense.
Use Whole Wheat Flour Carefully
Whole wheat flour adds a rich, nutty flavor and more color to the bread.
However, using more whole wheat flour can make the crumb tighter. The balance in this recipe keeps the loaf flavorful while still giving it a light texture.
Give the Bread Enough Steam
Steam during the first part of baking helps the crust stay flexible while the bread expands.
If you do not have a steam pan, you can simply bake the bread in a covered Dutch oven if you prefer a more rustic round loaf.
How to Make This Bread Without Loaf Pans
You can easily turn this recipe into round artisan loaves.
After dividing the dough, shape each piece into a tight round.
Place the dough into floured bannetons and refrigerate overnight.
The next morning, turn each loaf onto parchment paper, score the top, and bake in a preheated Dutch oven.
Bake covered for about 20–25 minutes, then uncover and continue baking until the crust is deep golden brown.
How to Store Sourdough Bread
Let the bread cool fully before storing it.
Keep the loaf at room temperature in a bread bag, bread box, or paper bag for the best texture.
For longer storage, slice the bread and freeze it in a freezer-safe bag for up to 3 months.
Individual slices can be toasted straight from frozen, making this a simple way to keep homemade bread ready for breakfast or sandwiches.
Serving Ideas
Fresh sourdough bread can be served in many ways:
- Toast with butter
- Avocado toast
- Eggs and toast
- Grilled cheese
- Turkey or chicken sandwiches
- Garlic bread
- Toast with jam
- Soup and bread
- Bruschetta
- Olive oil and herbs
The slices are also great for making French toast or homemade croutons.
Frequently Asked Questions
Can I make this without whole wheat flour?
Yes. You can replace the whole wheat flour with more bread flour. The flavor will be a little lighter, but the bread will still work well.
Can I skip the overnight proof?
Yes, but the flavor will be different. You can let the shaped loaves rise at room temperature until they look puffy and ready to bake. The timing will depend on your kitchen temperature and starter strength.
Why is my bread dense?
A weak starter, short fermentation, or overworking the dough can lead to a dense loaf. Make sure the starter is active and allow the dough enough time to rise.
How can I get a softer crust?
After baking, brush the hot loaves lightly with melted butter. You can also cover the cooling bread with a clean kitchen towel.
Can I freeze the bread?
Yes. Slice the cooled bread, place the slices in a freezer-safe bag, and freeze for up to 3 months.
Final Thoughts
This overnight artisan sourdough bread is a simple choice when you want fresh homemade bread without a long day of work. The dough needs time, but most of that time is hands-off.
The key is to use an active starter, give the dough enough time to ferment, handle it gently, and let the baked loaves cool before slicing.
Once you get used to the dough, this recipe can become an easy part of your weekly baking routine.
